
It's the Simple Things
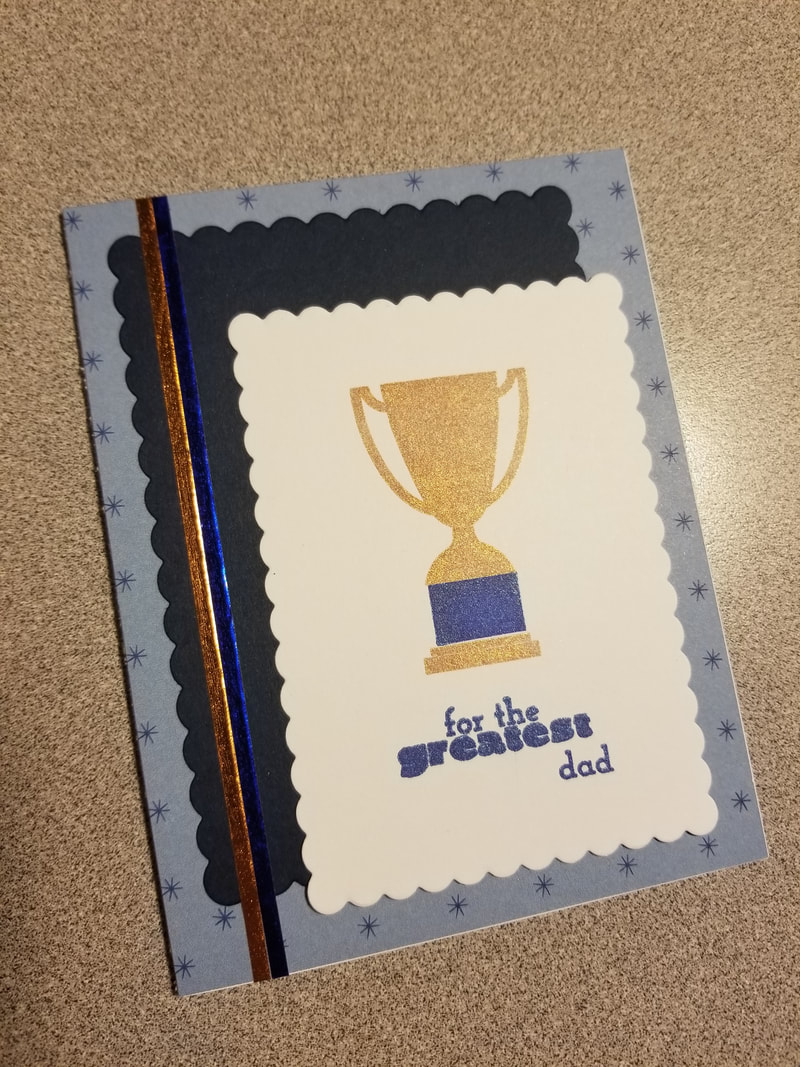
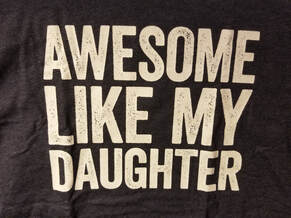 I found this really funny t-shirt online about 4 months ago, and thought...my dad needs that shirt. It is a navy blue t-shirt and says in big white letters, "Awesome Like My Daughter." I thought it was funny, so I purchased one. It was the perfect gift for Father's Day, and he loved it. I made a card for him, and decorated a Panera Bread bag to match. I love how it all turned out. Materials Used: Altenew: Trophy Life stamp set Delicata inks: Celestial Copper & Sapphire Blue The Paper Studio: Metallic Washi Tap in copper and blue Cards tock: Recollections Scalloped Nesting Dies (sorry I do not remember the maker) Pattern Paper from my stash Gift Bag was a up-cycled bag from Panera Bread (it was from a lunch order, but all the food was in containers, so why not use it) 
8 Comments
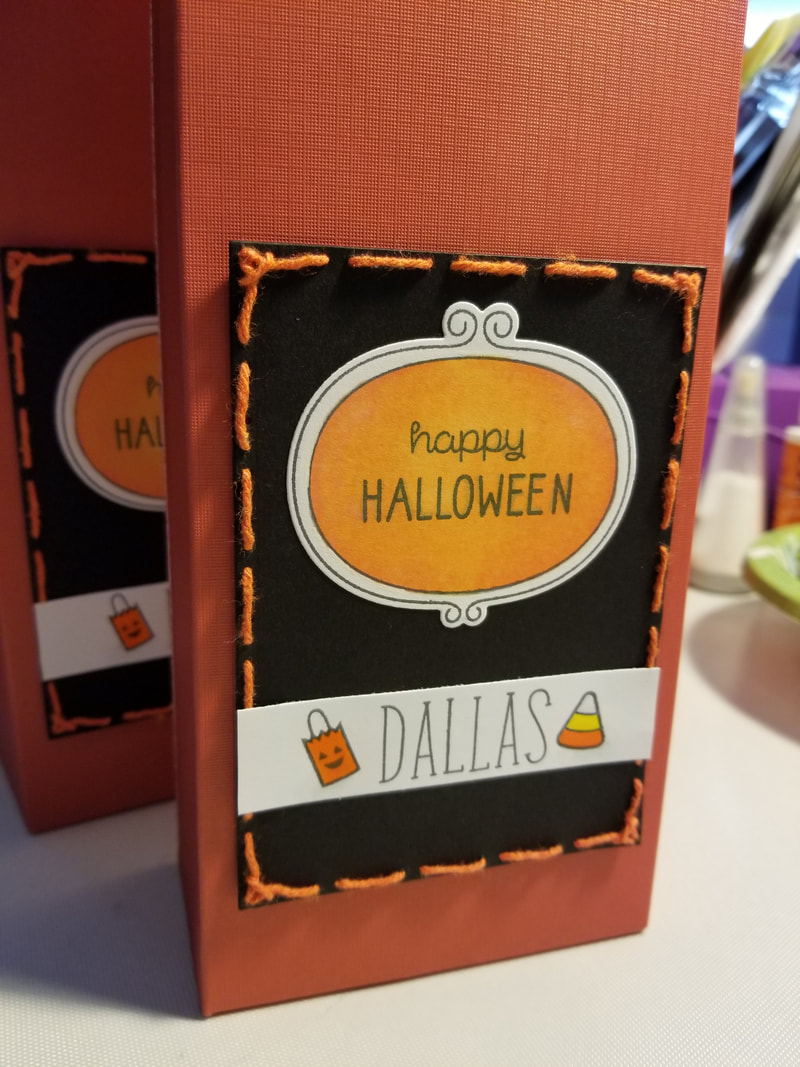
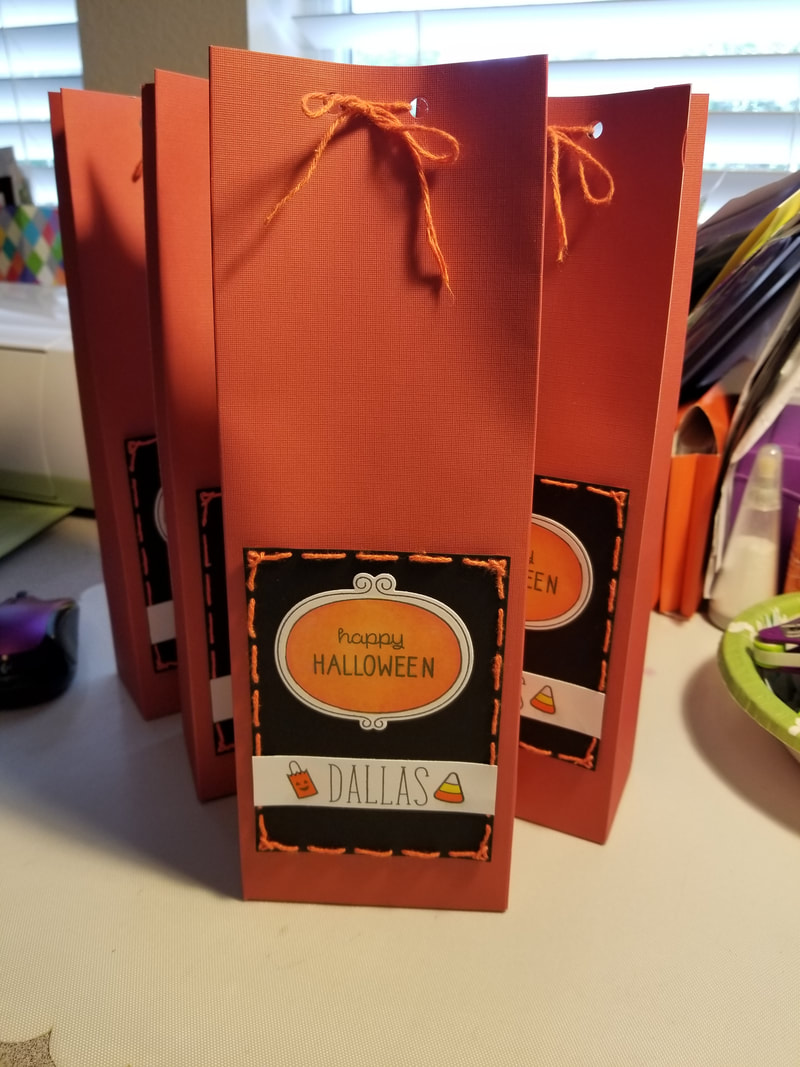
Each year, I make Halloween treat bags for my son and a few of his friends. I like giving gifts and Halloween is just another reason and way for me to spoil my son and the neighborhood kids that I love so much. This year, I have been a little short on time, but that is no excuse. I still found time to make clean and simple treat bags, which took me about an hour from start to finish to complete.
I made the bags using my We R Memory Keepers Gift Bag Punch Board. I start with a full sheet of 12 X 12 cardstock, which gives me a large, tall bag. Next I cut the black base for the front design using the Sizzix Dotted Rectangle dies. I got them from the Stamps of Life website, and I love them because it cuts out the rectangle with a series of small holes along the edges. I then used some Pumpkin twine from the Stamps of Life to sew around the edges, to give it a little more detail. The sewing is the part that took the longest, but was really easy since the holes were already punched.
Next I started stamping. All the stamps came from Lawn Fawn. The frame from Sweater Weather, the sentiment, Halloween bag, and candy corn from the Spooktacular set, and the font is Violet's ABC's. After I stamped it all out, I colored the frame and shaded under the bag and candy corn, using my Spectrum Nior alcohol ink markers. Next I used my Sakura Glaze pens to color the Halloween bag and candy corn. Then all that was left was to put it all together. I love that these were so easy to make and quick as well. I filled them with some Halloween goodies and some candy, that I am sure the kids are going to love. Materials Used: Lawn Fawn: Sweater Weather, Spooktacular, & Violet's ABC's Stamp Sets We R Memory Keepers: Gift Bag Punch Board Stamps of Life: Pumpkin Twine, & Dotted Rectangle Dies Spectrum Noir Markers: OR1, OR2, GG1, Blender Pen Sakura: Glaze Pen in Yellow, Orange, and Clear Challenges Entered: Die Cuttin Divas As You See It Challenges Pause Dream Enjoy Lawn Fawnatics I am a bit sad, for I am going to miss Halloween with my family. I will be in Galveston, Texas for the Texas Council for the Social Studies meeting. Though I see the value of attending the event, for work, I am missing Halloween with my now 7 year old son, and our neighbors. At least it gives my son and husband some father-son time and I know that they will have a great time. I decided that since I will not be able to be there, that I was going to make all the kids that we usually go trick-or-treating with a little goody bag. 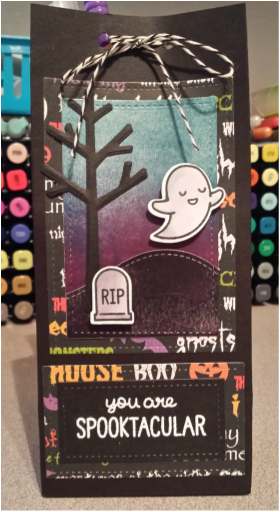 I have been working so much lately, that I haven't had time to do much crafting. If feels so good to be able to spend just a couple of hours in my craft room, and to just relax and do something I love. Just because I have not had time to craft, doesn't mean that I have stopped buying new product. (Scrapbook hording at it's best!). So, I wanted to use some of the new products that I have purchased. I started by making the bags, using my new We R Memory Keepers gift bag punch board. It was a bit confusing at first, and I totally messed up the first one, but I got it after that, and it was really easy to use, once I learned the correct pattern. Next I used some of my new Lawn Fawn stamps and coordinating dies. All the rectangles were cut using the Large and Small Stitched rectangle dies from Lawn Fawn. Then I cut out the tree from the Lawn Fawn Sweater Weather die set, and stamped and cut the tombstone and cute little ghost using the Spooktacular Stamp and die set. To make the background I used my Stamps of Life ink pads in Plum and Cornflower. I just used a blending tool to put the color on, layering it over and over, until I got the look I wanted. I used the same technique to make the black hills, using Memento Tuxedo Black ink. I was able to make the top darker than the bottom, to make it look like it was further away. To cut out the hill, I used the Lawn Fawn Stitched Hillside die. I think this might be my favorite new die. I have so many ideas of cards to make using this set. I love the stitched detail on all of the dies, I think it really adds a little something to my projects. I stamped the sentiment, from the Spooktacular Stamp set, using versa mark ink, then heat embossed it using white embossing power. It really pops off the black cardstock, and I love it. I think the kids will really love the gift bags. I filled them with some Halloween treats and glow bracelets, so they can all glow and be safe while they are out trick-or-treating. 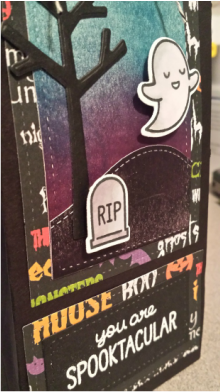 Materials Used:
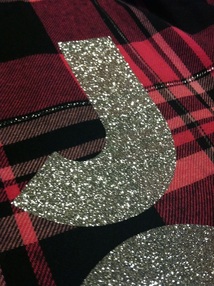
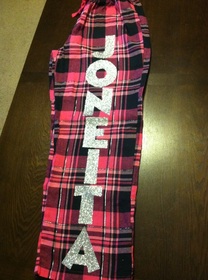
Lawn Fawn: Large and Small Stitched Rectangle Dies, Stitched Hillside Border Dies, Sweater Weather Dies, Spooktacular Stamps and Dies Ink: Memento Tuxedo Black Ink, Stamps of Life Plum & Cornflower inks Bag: We R Memory Keepers Gift Bag Punch Board Paper: Recollections cardstock and The Paper Studio All Seasons II Pack Spectrum Noir: IG1, IG2, IG3, IG4, & Blender Pen Challenges Entered: Cut It Up Die Cuttin Divas Cards TV Fantabulous Cricut Challenge Blog Pause Dream Enjoy The Fantabulous Cricut Challenge Blog Design Team is taking a little break to spend the Holidays with our families. Each day, a new project, by a design team member will be posted on the blog. My project, my Christmas Jammies were posted on day 2. So head on over there for a new project each day, and some Christmas inspiration. 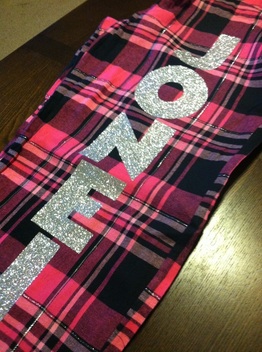 I haven't posted in a while, but I have had a great time with my family celebrating the holidays. I love spending time with my family, espically since we live 2 hours away and don't get to see them as often as we once did. While I was doing some shopping, I came across this pair of pajama pants on the clearance rack. I thought they were really cute and since they had the small stripe of silver in them, that they would make a great iron-on project. I couldn't decide what to put on it, but after thinking about it for a while, I settled on my name. I have an unusual name, thanks to the creativity of my parents and grandparents. I'm told that my name was Amanda LeAnn up until the day I was born, and my dad said that I didn't look like an Amanda to him, so they began searching and thinking of a new name. I believe that it was my grandma Betty who came up with "JoNeita." It is a combination of both of my grandmother's names - Betty Jo and Boneita. That is why I spell it with a capital "N." Most people don't know, but my first name is Evelyn, which is also my mother's name, and was my great-grandmothers name as well. So, I am proud to say that I am named after my mother, both my grandmothers, and my great-grandmother, then my maiden name was Spicer, from my dad. When I got married, I didn't drop my maiden name, like most people do, I wanted to keep it. So, I just tacked Kelly on the end, and made Spicer kind of like a second middle name. So, since there were two Evelyn's already, as I was growing up, I was always called JoNeita. My great-grandmother didn't pass away until I was in my 20's, she was just a few weeks from her 95th birthday, I hope I live that long. So, I had a different kind of name. One that most people can't spell, can't pronounce (It's Jo....Neita, with a J not a G), and that most people I meet are afraid of. I'll answer to almost any variation of the name, as I know it's hard. A lot of people call me Jo, which is fine too, and a lot easier to remember. Actually, many of the kids in our family have giving me a couple of great nicknames, because they can't say JoNeita. My cousin Alexis called me "Geita" until she was in middle school, and sometimes still does. Anyway, the reason for all this, is that because I have a creative name, I never had personalized clothes and could never find anything with my name on it. It was cool when I was in middle school to have a notebook or keychain with your name on it, but of course, it was impossible to find one with my name on it. I could find things with the name Evelyn on it, but no one knew me by that name. At my high school graduation, a guy who I had been in school with since kindergarten, asked me "Your name is Evelyn?" I guess when they only hear it once a year, the first day of school, it is easy to forget. So, I decided to put my name on this pair of pajama pants, and I love how it turned out. I used the Disney Mickey Font Cartridge and silver iron-on glitter vinyl. I cut the letters out, placed them, and ironed them on. It was super easy, and I love them.
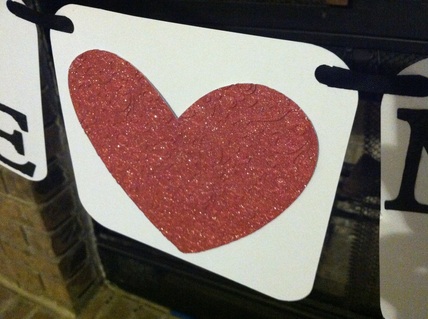
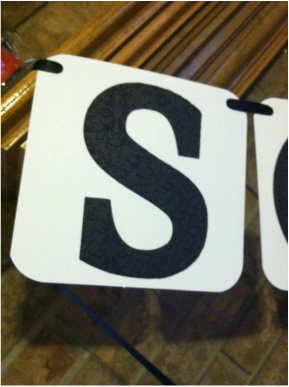
I would love for you to become a follower of my blog, just click on the button below. Or find me on Facebook  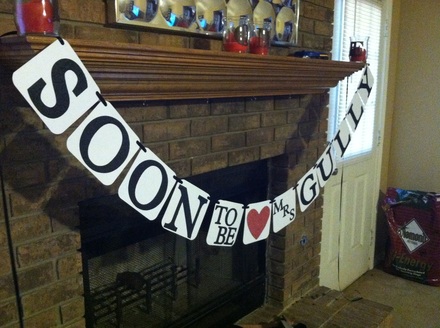 A good friend of mine asked me to make a banner for a bridal shower that she was helping to plan. She wanted a banner that said "Soon To Be Mrs. Gulley," clean, simple, and elegant. I cut the banner in white cardstock, using Craft Room Basics. I used a rounded corner square, then added a small circle in each corner, so that they would all match. There is nothing worse than trying to line up the holes using a hole punch. Next I cut the letters and the heart (in pink sparkle paper) using Plantin Schoolbook, and embossed them using a Damask Darice embossing folder. Then it was as easy as attaching everything together and stringing it all using a black satin ribbon. Come to find out, I forgot the E in Gulley, so I had to come back and make another, but that was easy enough since I had saved the file in Craft Room.
Materials Used:
Cricut: Plantin Schoolbook & Craft Room Basics Cuttlebug: Damask Darice Embossing Folder Paper: DCWV the glitter cardstock stack & Recollections cardstock Ribbon: Black Satin Ribbon (don't remember where I bought it, but it was prob. Jo Ann's or Michaels) Challenges Entered: Hiding In My Craft Room Paper Playtime Frosted Designs My Craft Spot It's challenge time over at the Fantabulous Cricut Challenge Blog! This week we are each challenged to create a project, using at least one Cricut cut, that has sparkle and bling. This challenge was really easy for me, as I love sparkle and bling, and think that any project benefits from a bit of shine. 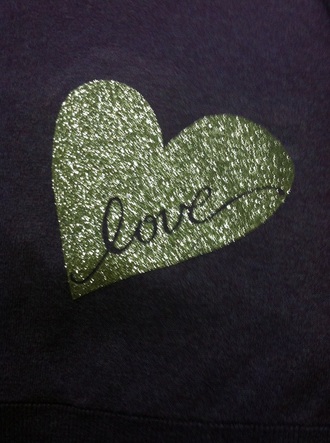
|
 
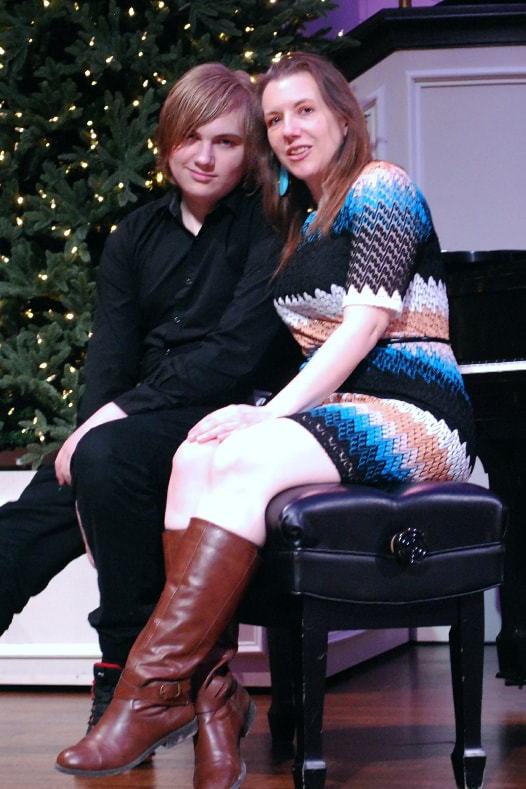
JoNeita & Dallas - Dec. 2021
About MeMy name is JoNeita Kelly and I have been crafting for at least the last 20 years. I live in Forney, Texas with my son, Dallas. I am a High School teacher and Cheerleading Coach. I love to craft and to continue to improve my photography and editing skills whenever I have free time. What I love most is telling our story using pictures, it is the most important gift I can leave my family. 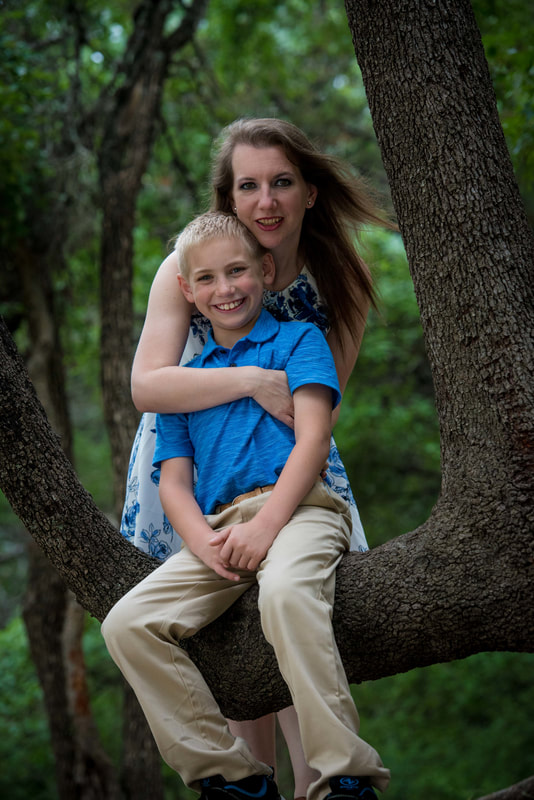
Photo by Steven Mackie Photography.
Categories
All
Archives
December 2021


Former Design Team Member for Fantabulous Cricut Challenge Blog
 |


 RSS Feed
